 Image 1 of 5
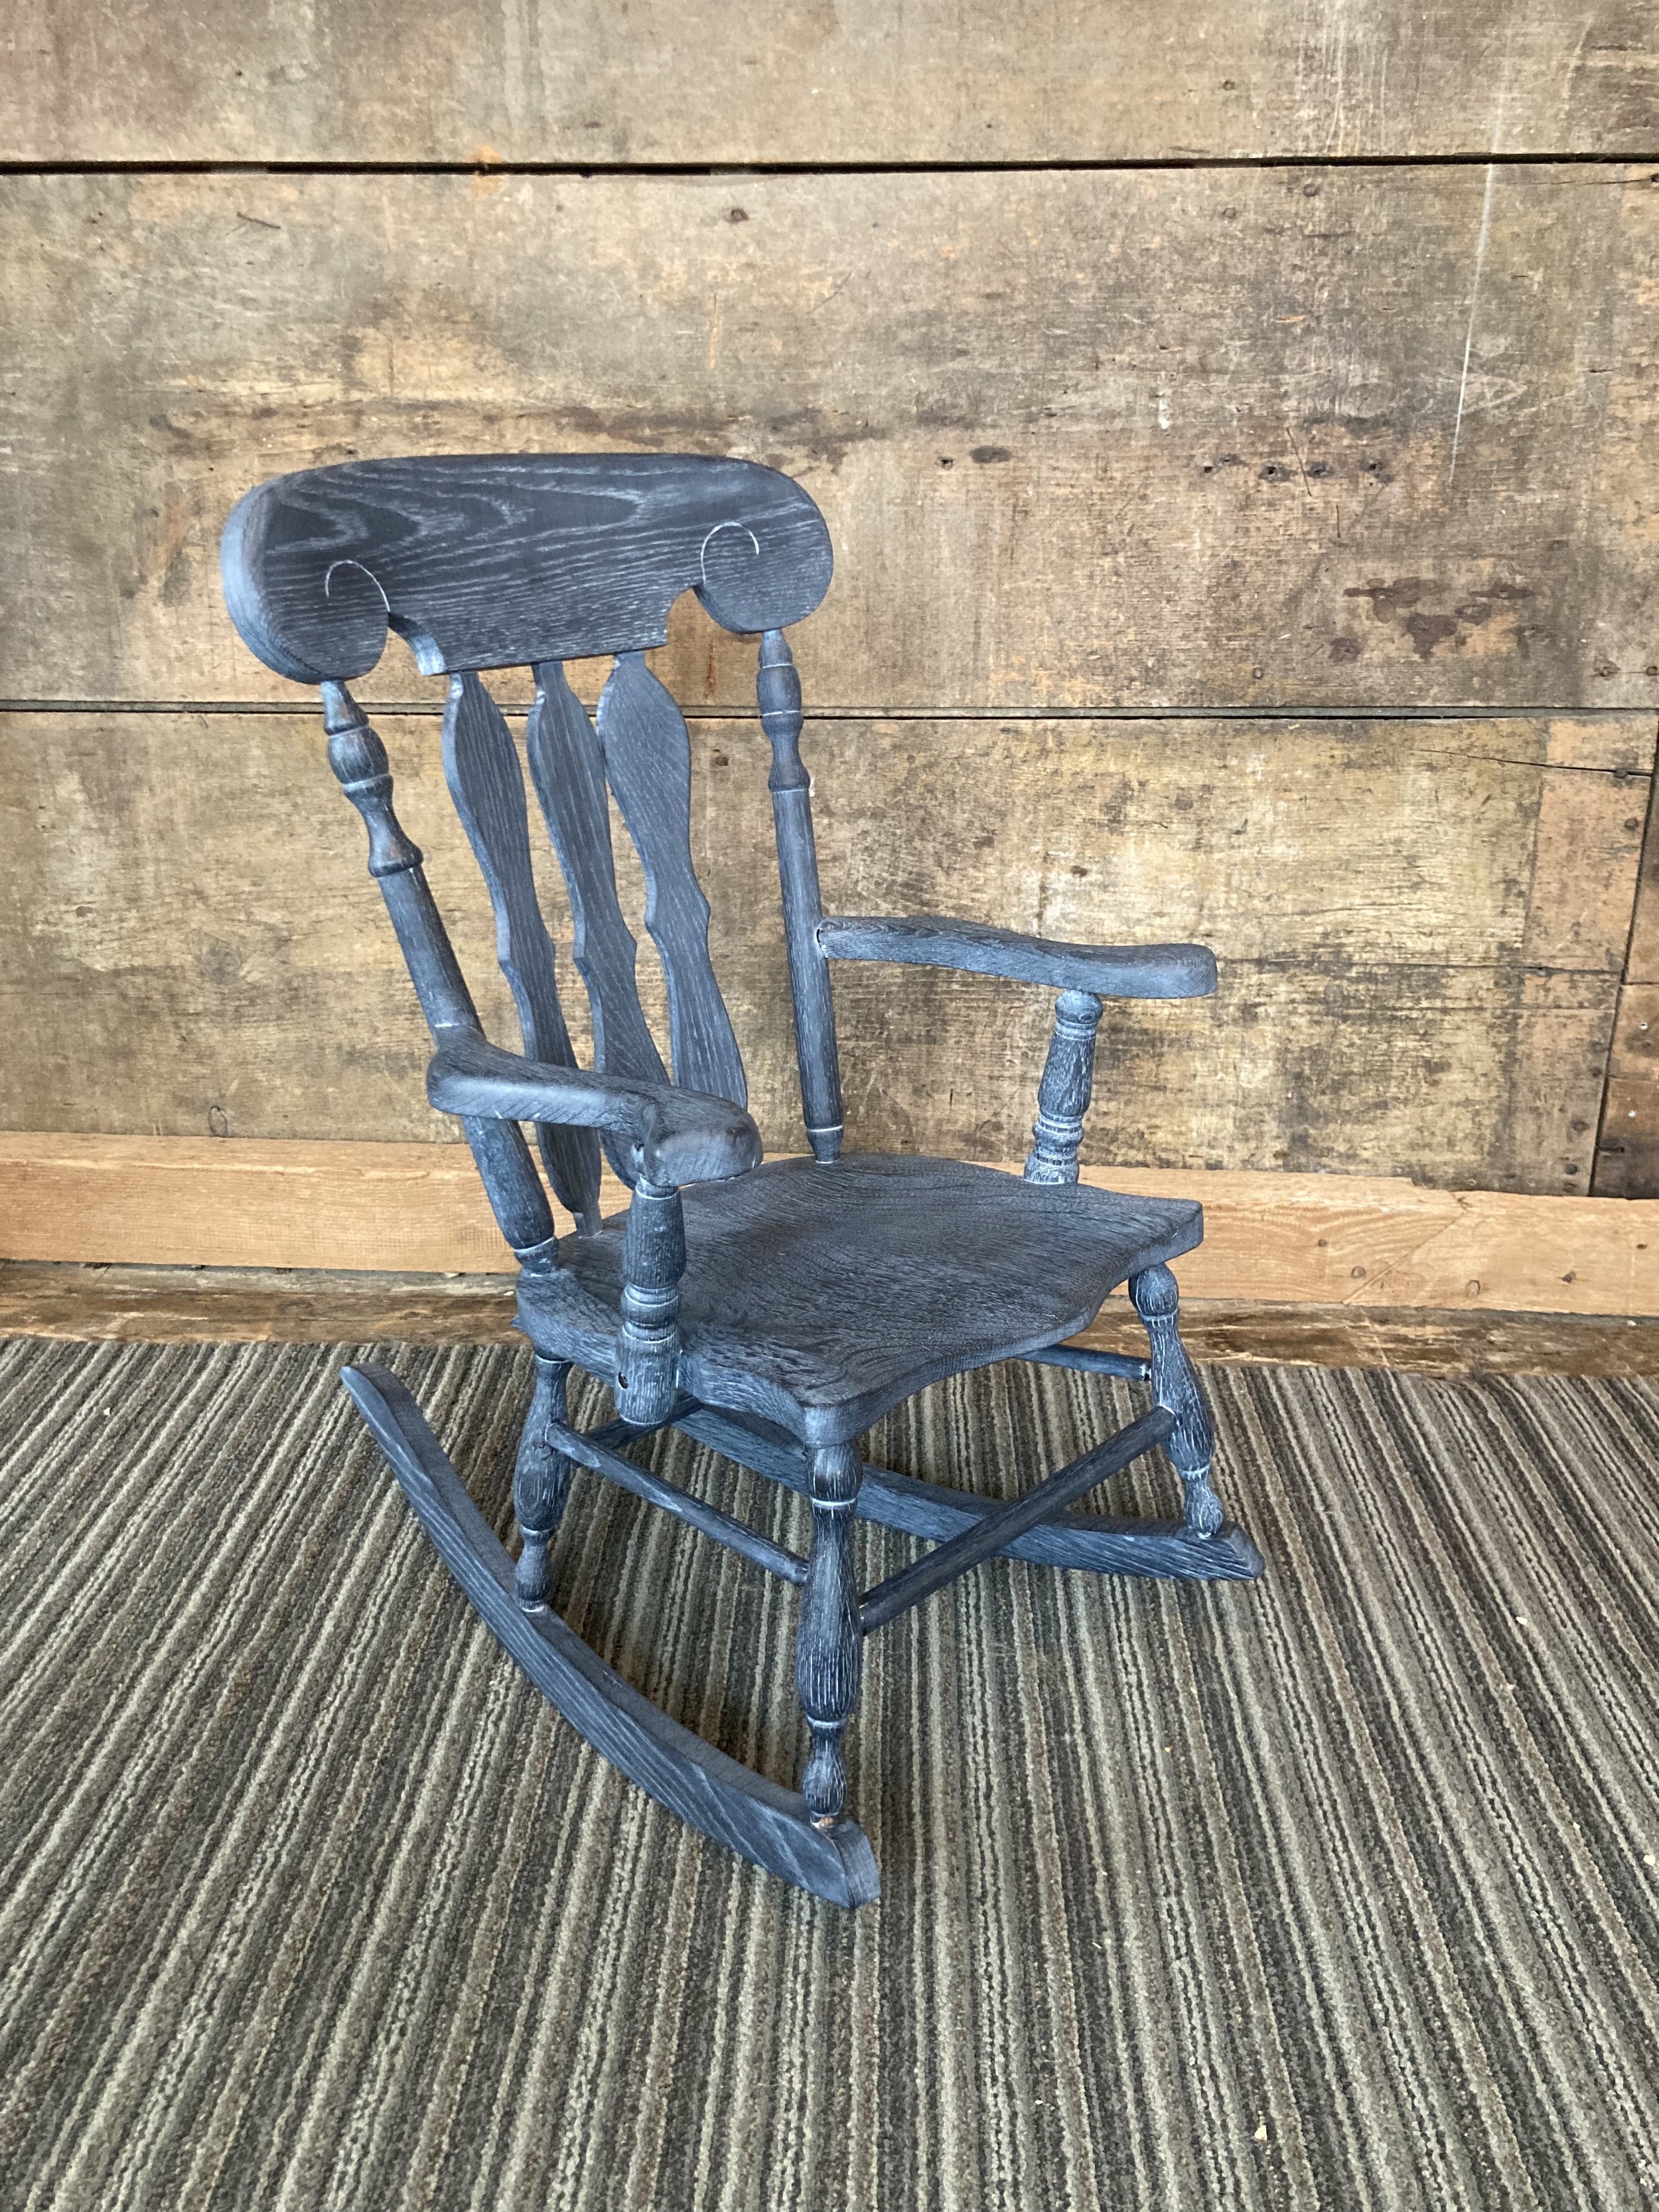 Image 2 of 5
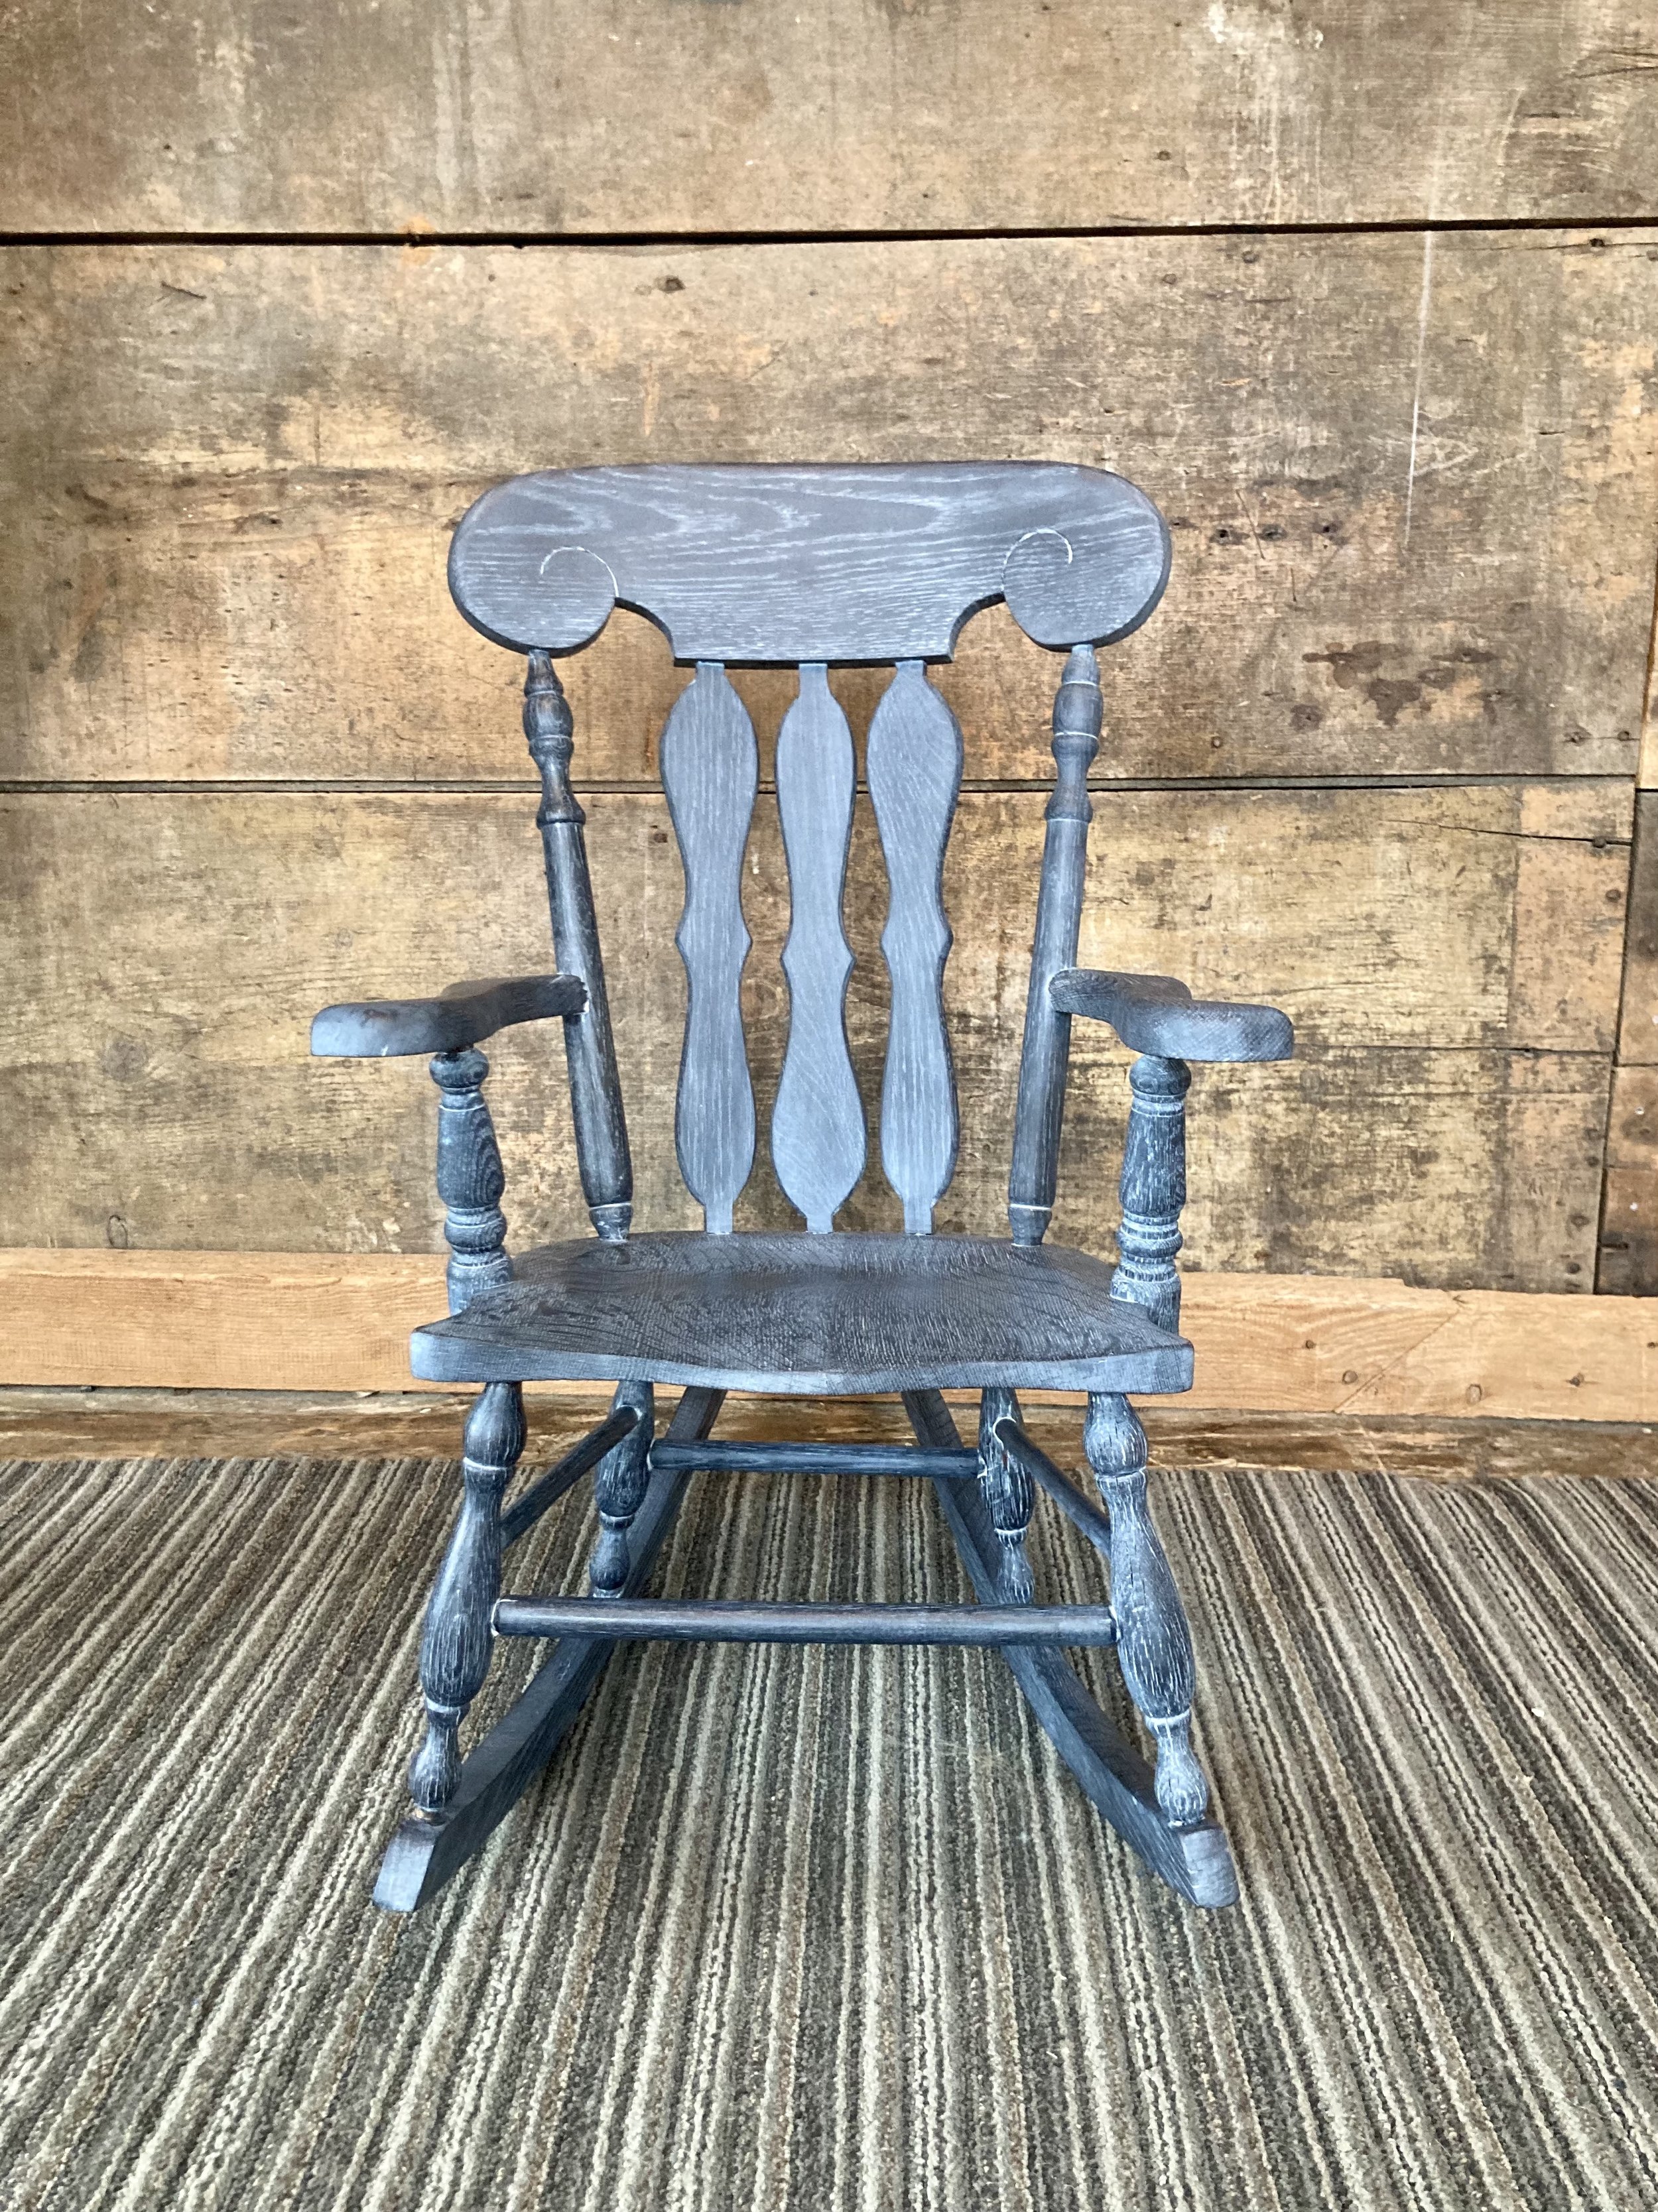 Image 3 of 5
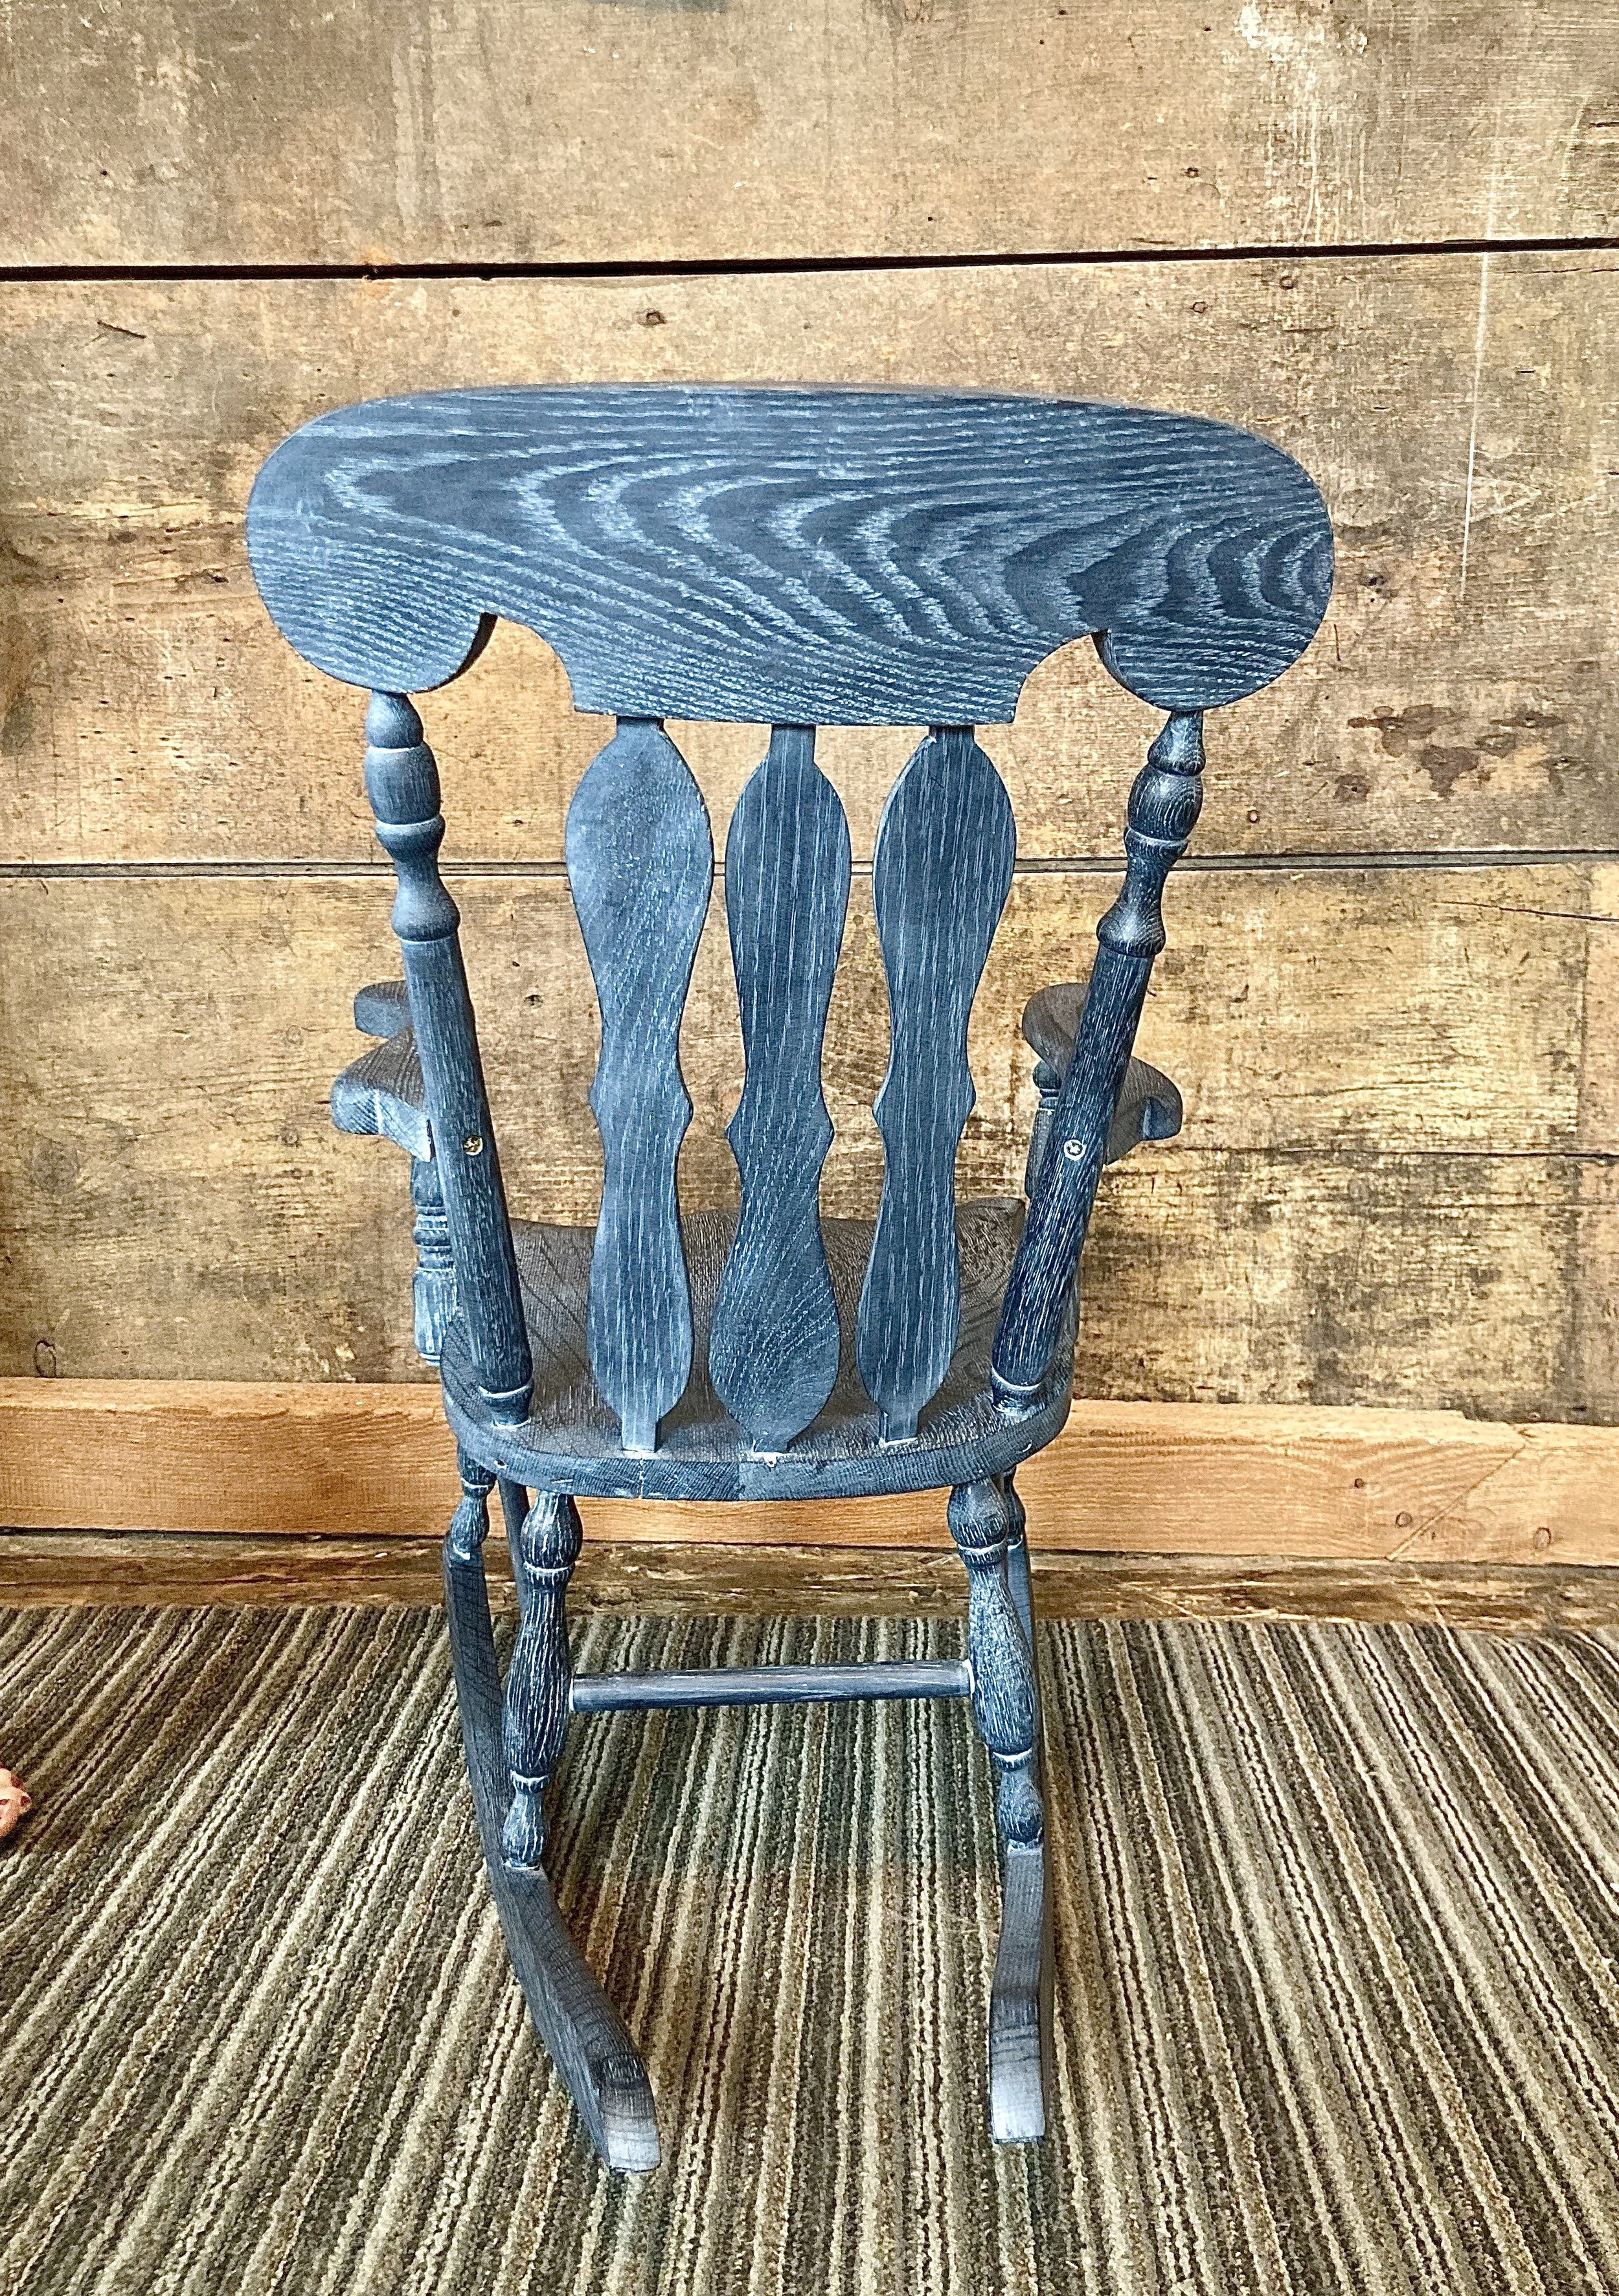 Image 4 of 5
 Image 5 of 5
This was a project for my own home. This was my grandfather’s rocking chair when he was a kid. I thought it would be a fun project to challenge my skills and attempt new techniques. I started by soaking the whole chair in vinegar for 2 weeks to weaken the glue joints. I was then able to pull apart the joints and remove the finish to see what I was working with. I had to remake half of the parts on this chair as many of the parts had been damaged over the years. This project required a large number of skill sets to complete. The back headrest required hand carving and bent lamination. Many of the spindles needed very accurate holes drilled along with an eye for duplicating on a wood lathe. After cleaning and reproducing all the parts one by one I was then able to assemble them. I chose to go with a black stain and then coat it with a white finish to fill the pores of the oak. The black stain helped with hiding the color variation between the old/new oak wood.
I enjoy projects like these that push my skill sets and show people what can be done with antique furniture. I hope when I am old and gray my kid's kids will have something to remember me by and appreciate the art of woodworking.